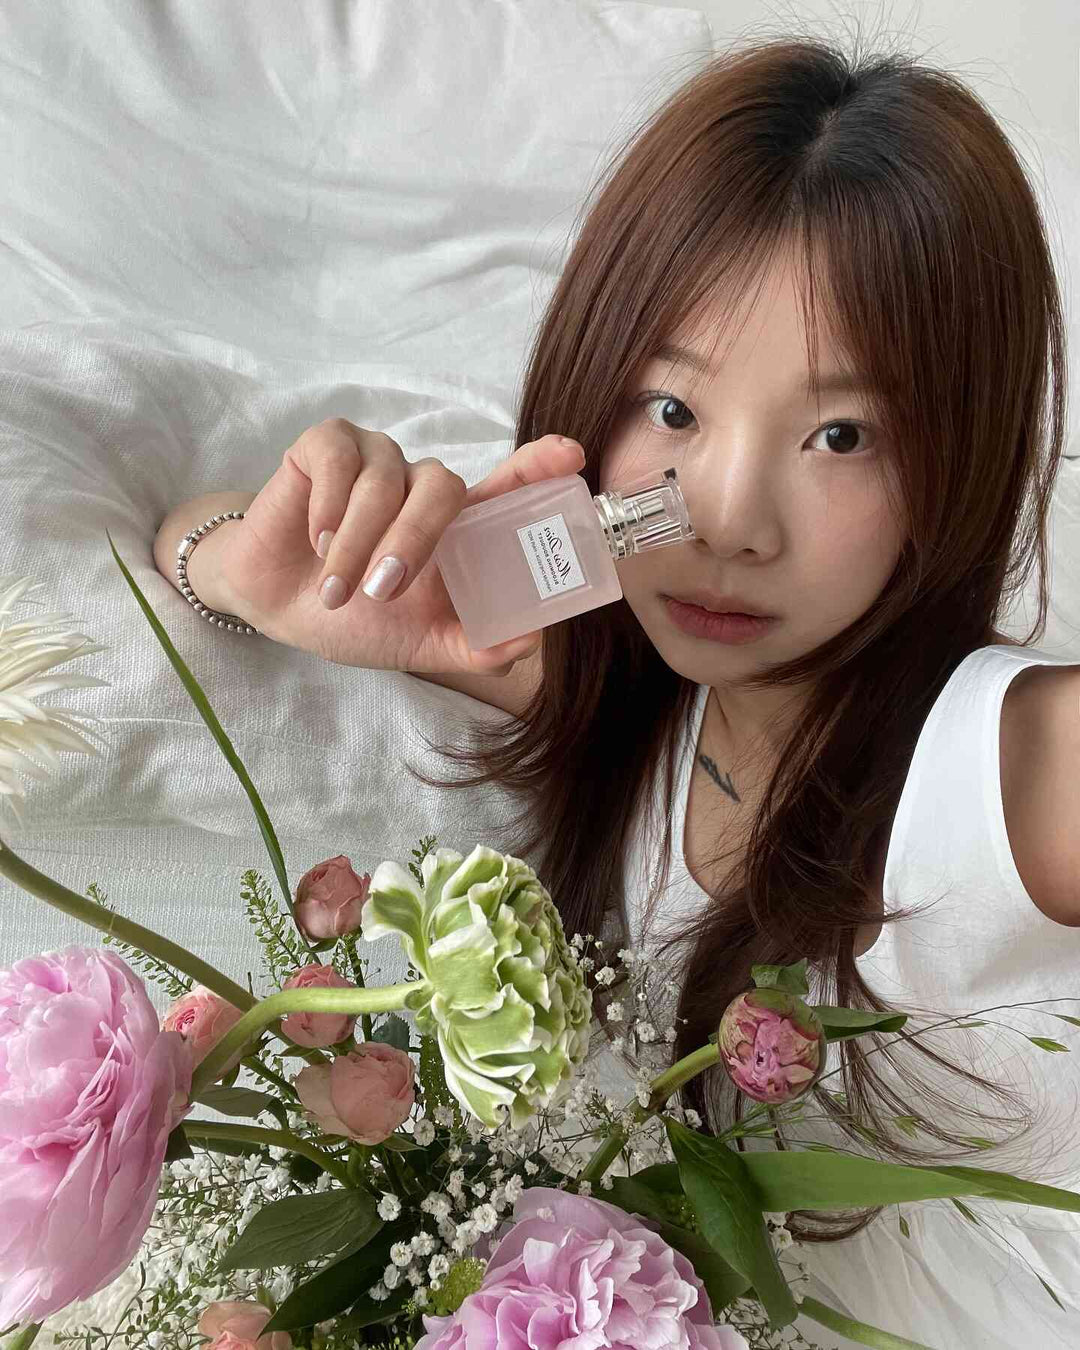
Khách hàng đánh giá
Lắng nghe những trải nghiệm thực tế và phản hồi chân thực, minh chứng cho chất lượng vượt trội cùng giá trị khác biệt mà sản phẩm chúng tôi mang lại.
13 steps to beautiful eyebrow mascara
If you're tired of thin, non-existent, or clumpy spider-leg lashes when you apply mascara, it might be time to rethink your mascara application. To make your mascara look better, start by using the right type, but it's also important to properly prepare your lashes and know the right application techniques for maximum effect. After following a few quick tips, you can have long, thick, and voluminous lashes without errors every day.
Sequence 1: Choose the right mascara type
Step 1: Choose a mascara with the right formula
The first step to making your mascara look better is to ensure you choose the right formula. Mascaras are designed to create different lash looks, so if you use a lengthening mascara when you want thicker-looking lashes, you may be disappointed. Check to make sure the formula you're using meets your needs.
Lengthening mascara or defining mascara makes lashes appear longer. Volumizing mascara or thickening mascara makes lashes appear thicker. Curling mascara lifts and curls straight lashes.
Tubing mascara contains special polymer fibers that form tubes around the lashes, making them longer and thicker. Fiber mascara contains fibers that adhere to natural lashes, making them appear thicker and longer. Some mascara formulas are designed to lengthen and thicken lashes for an overall improvement.
If you're not sure what you want from a mascara product, choose a multi-purpose formula. Depending on your needs, you may want to use a combination of mascaras with different formulas. For example, you can apply a first coat of volumizing mascara and then add a second coat of lengthening mascara to separate and define your lashes.

Step 2: Consider the mascara brush or wand
In addition to choosing a mascara with the right formula, the type of brush or wand included in the mascara also makes a big difference in shaping your lashes. Some wands have nylon bristles, while others are molded from plastic. The shape and arrangement of the brush head also affect how the mascara is applied.
Use a mascara brush or wand that suits your needs. For thick and voluminous lashes, look for a mascara with a thick and dense wand. For long, defined lashes, look for a mascara with a wand that has sparse and short bristles. For lower lashes, choose a mascara with a small wand.

Step 3: Choose a waterproof type
If you want to ensure your mascara looks good all day, it's important to use a waterproof mascara. This helps it last longer against tears, sweat, and any other moisture, while also holding the curl of your lashes. Use waterproof mascara so you don't have to worry about your mascara running, smudging, or flaking under your eyes.
The downside of waterproof mascara is that it's very difficult to remove. You'll need a dedicated eye makeup remover to remove waterproof makeup at the end of the day. If you wear contact lenses or have sensitive eyes, make sure to choose a hypoallergenic mascara so you don't have to worry about the ingredients in the mascara irritating your eyes.

Step 4: Keep your mascara fresh
Like all makeup, mascara can actually go bad over time. Old mascara can not only cause eye irritation and infection, but it can also create clumps on your lashes. That's because mascara dries out with long use, and it can become thick and rigid.
Make sure to use mascara for a maximum of 3 months. If you have multiple mascara products and it's hard to tell how long you've been using them, consider labeling them. Write the date you opened the tube on a label and stick it on the mascara so you know when to stop using it and throw it away.

Step 5: Use black mascara
For the best, most dramatic look, you should use black mascara. It works best at making lashes appear thicker and longer, so be sure to choose the blackest mascara you can find. Save colored mascaras, such as blue, purple, or green, for adding a more vibrant touch to your lower lashes. If you have extremely fair skin, you can use dark brown mascara to avoid looking too harsh.

Sequence 2: Eyelash care steps
Step 1: Condition lashes every night
For your mascara to look its best, you must start with soft and healthy lashes. You can buy lash conditioners to help moisturize your lashes. Apply it every night after removing all mascara and other eye makeup so you wake up with healthy lashes.
If you don't want to buy a specialized lash conditioner, you can use petroleum jelly, vitamin E, or coconut oil. Dip a clean, soft lash brush into your chosen conditioner and coat your lashes before bed.

Step 2: Curl your lashes before applying mascara
Mascara will look better if your lashes are curled before applying mascara. This is because curling helps lift the lashes and makes them look a bit fuller. However, it's important to use an eyelash curler before applying mascara.
Because if the lashes are wet with mascara, they will stick to the eyelash curler when curled and pull at the lashes, breaking them during curling. If you don't have an eyelash curler or are uncomfortable using one, you can apply mascara first. While the lashes are still wet, gently push them upwards to create curl and volume. Hold them like that for 10 to 15 seconds.

Step 3: Start with an eyelash primer
After curling your lashes, you should apply a layer of eyelash primer before applying mascara. Eyelash primers coat the lash fibers and help them appear thicker and longer. They will also provide a perfect base for the mascara to adhere to.

Sequence 3: Mascara application steps
Step 1: Wipe off excess mascara from the wand tip
When you pull the mascara wand out of the tube, the tip will have a lot of mascara on it. If you apply it directly to your lashes immediately, your lashes may become clumpy. Instead, wipe the wand tip on a tissue or napkin to remove excess mascara. If you don't have a tissue handy, try scraping the wand tip on the mouth of the tube to remove excess mascara.

Step 2: Wiggle the wand back and forth at the lash roots
When you're ready to apply mascara, start by placing the wand right at the base of your lashes. Gently wiggle it back and forth along the lash line to ensure an even coat of mascara at the roots. Make sure to wiggle the wand from side to side, not up and down, for the best-looking lashes.
Brush deep into the lash roots. Makeup artist Daniel Vann advises: "When you apply mascara, move the brush back and forth on your lashes. Many people timidly glide over their lashes, but it's essential to apply mascara with a bit of a strong, decisive motion."

Step 3: Use a zigzag motion to coat lashes
After applying mascara to the roots, move the wand in a zigzag motion from the root to the tip of your lashes. This technique helps lashes appear more voluminous. For lower lashes, hold the wand vertically so you can coat each individual lash.

Step 4: Comb lashes after applying mascara
After applying the first coat of mascara, let your lashes dry for 3 to 5 seconds. Next, take a clean lash brush and comb through your lashes to remove any clumps and separate your lashes. If you don't have a lash brush or comb, you can use a clean toothbrush or a disposable lash spoolie to comb your lashes.

Step 5: Add additional coats if necessary
If your lashes are not as long or thick as desired after the first coat of mascara, apply another coat. Remember that the more mascara you apply, the more likely your lashes are to clump, so don't use too much mascara and don't apply too many coats. Remember to comb your lashes after each coat of mascara to prevent clumping. Let the mascara dry before applying another coat. If you continue to apply when the old coat is not dry, it will never create the mascara look you desire.

Author: Daniel Vann. Translator: Huyen Tran.
Source: Wikihow. Copyright: Kallos Vietnam.
A little about the author Daniel Vann
This article is co-authored by Daniel Vann. Daniel Vann is the creative director of Daredevil Cosmetics, a makeup studio in the Seattle Area. He has worked in the cosmetics industry for over 15 years and is currently a licensed makeup and aesthetics training specialist.


Không đẩy cọ chuốt mascara của bạn vào và ra khỏi ống liên tục. Điều đó sẽ đưa không khí vào trong lọ, điều này sẽ làm khô mascara của bạn nhanh hơn.
Nếu bạn bị mascara dính vào mí mắt, hãy cẩn thận xoay đầu tăm bông lên chỗ đó để loại bỏ mascara mà không làm ảnh hưởng đến lớp trang điểm mắt của bạn.
Nếu bạn lo lắng về việc mascara bị dính vào mí mắt, hãy cầm một tấm danh thiếp lên mí mắt, ngay trên hàng mi khi bạn chuốt. Bất kỳ vết ố nào bạn có thể tạo ra sẽ xảy ra trên thẻ, không phải mí mắt của bạn.
Hãy trang điểm mắt, chẳng hạn như phấn mắt và kem lót, trước khi chuốt mascara.
Leave a comment